One of the drawbacks of being a diabetic is food – and not in the way you would think. For me, the biggest struggle has been taking the time to eat, followed by the need to eat healthy foods. In other words, a cup of coffee for breakfast and a bag of chips for lunch isn’t going to cut it anymore. My body fought back in a big way – and I ended up spending Memorial weekend in Intensive Care.
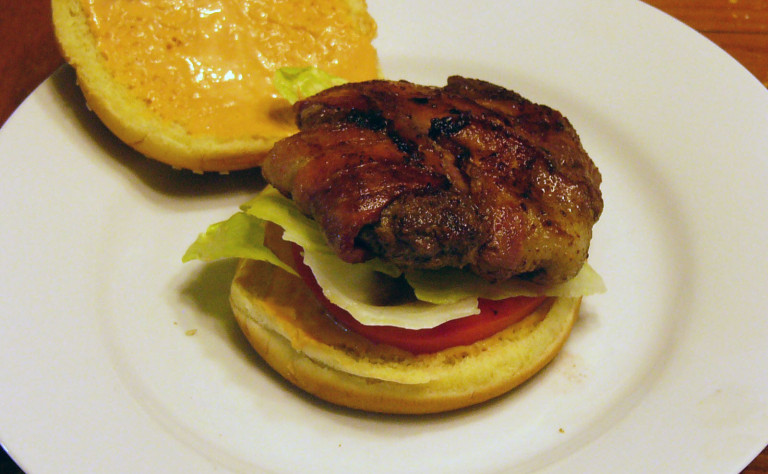
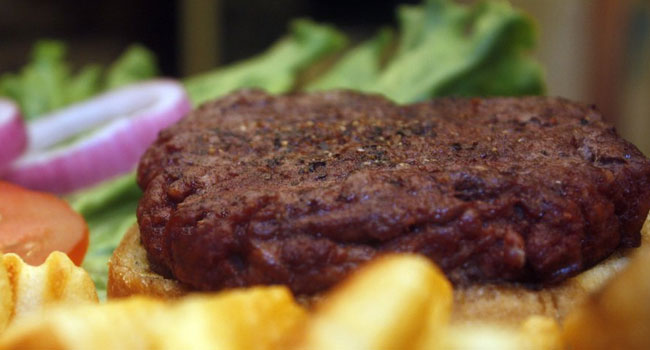
Most of the time, I prepare a somewhat healthy supper for my family. I like to include salads and plenty of vegetables with whatever we’re having. Most of the time things are grilled, roasted or baked rather than fried. While we do enjoy our red meats, we balance out our diet with plenty of chicken, Bison (the best source for red meat) and fish. I am a firm believer that a hamburger isn’t going to kill you unless hamburgers are the only thing you eat. Just as a slice of cake isn’t going to make you fat unless it’s cake for breakfast, lunch, dinner and that midnight snack. You get the idea.
Taking the time to eat properly during the day was a problem for me. Often, I’m busy – be it writing, caring for our house or puttering in the garden. Years of skipping meals became a habit, a way of life. Breakfast should be the easiest meal of the day not to skip if for no other reason than it’s an early meal, before we get too sidetracked. Lunch – well that’s the real problem. It means we need to stop what we are doing and actually fix something – be it a sandwich or a salad or whatever. I found that the best way to overcome this problem is to make lunch (for later) at the same time I’m making breakfast. Sandwich spreads can be made early and kept in the refrigerator until lunch. Salads can also be made early, then all I need do is add the dressing and enjoy.
For those of you who have been eating healthy all your life, good for you. For the rest of us, it might take time for healthy to become the norm but we will get there. And we don’t have to sacrifice flavor in the process.
Chicken Salad Sandwich on Sandwich Thins
1 Can White Chicken Meat
1 Rib Celery, diced
1/4 Cup Red Onion, diced
2 Tablespoons Miracle Whip
2 Tablespoons Mayonnaise
1 Tablespoon Mesquite Seasoning
Green Lettuce Leaves as needed
2 Small Tomatoes, sliced
4 Multi Grain Sandwich Thins
Open canned chicken, drain well. Crumble chunks of chicken meat into a medium size bowl. Set aside.
Dice celery into small pieces. Add to bowl with chicken meat.
Dice red onion into small pieces. Add to bowl with chicken meat.
Add Miracle Whip and Mayonnaise to the chicken meat. With a spoon, blend mixture until smooth and creamy. If necessary, add a little more Miracle Whip if the mixture appears too dry.
Season with Mesquite Seasoning. This will give the chicken salad a smokey, rotisserie flavor. Set mixture aside. (The chicken salad can be made up to this point in advance. Simply cover and keep in the refrigerator until you are ready to assemble the sandwich).
Slice tomatoes for sandwiches, set aside. Break crisp leaves from a head of green leaf lettuce, set aside.
Open Sandwich thins. On one bun, lay a lettuce leaf and top with tomato slices. On the other bun, spread about 2 or 3 tablespoons of chicken salad mixture. Place chicken bun over the lettuce/tomato bun. Slice and serve.
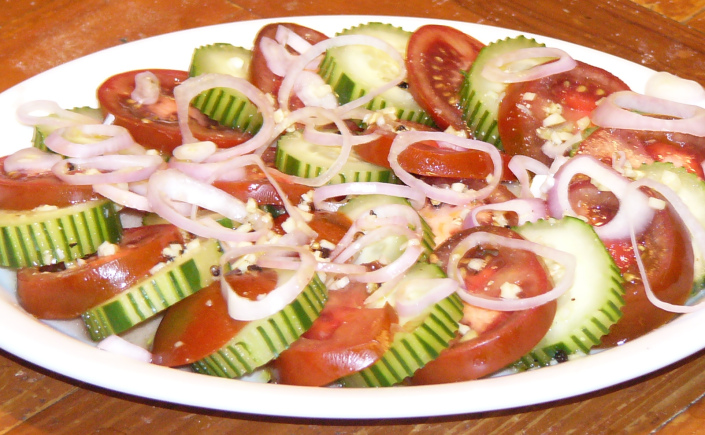
A small salad of lettuce greens and fresh tomatoes is an excellent side for this sandwich.
")
")
")


 Unlike other cuisines, Mediterranean Cuisines isn’t of a particular ethnic persuasion but rather a culinary style of cooking that is influenced by an array of diverse people living around the Mediterranean Sea. Almost since the beginning of civilization, the sea has been an intersection of trade between Asia, Europe and Africa. This exchange of ideas, cultures and goods has resulted in some of the most delightful culinary offerings anywhere. Olives are the most common ingredient in Mediterranean cooking. Beef is rare, as the rocky landscape does not easily support large stock domestic animals. Goat, lamb, pig and chicken are the more common meats. Fish from the sea is the most typical source of protein in the Mediterranean diet. Eastern Mediterranean brings an influence of Greece, Turkey, Syria, Lebanon, Israel, Palestine, and Egypt. Southern Europe brings with it Southern France, Italy and Spain, with a preference toward grilled meats, tomatoes and red wine both in the foods and at the table. Northern Africa brings spice of Morocco, Algeria, Tunisia, and Libya to the table. This accumulation of styles and traditions sets Mediterranean Cuisine apart.