Now that the summer sizzle has arrived in full-force, we’ll be cooking outdoors whenever possible – even if that means a lot of burgers and dogs for quick, after work suppers. And let’s not forget the awesome Street Fair Sausage – one of the biggest reasons we go to all these little fairs in the first place. Street Fair Sausage is a post and a story for another day. Whenever possible, we will be doing our weekend cooking outdoors as well. I’m looking forward to some childhood treasures such as my Dad’s awesome Kabobs or Mom’s Filipino Barbecue, but then those too a subject for another day. Right now I want to chat up a “new” family favorite . . .
Today it’s all about grilled chicken and smokey goodness. This Spice-Rubbed Grilled Chicken with a Smokey Orange Sauce was first published in Taste of Home back in 1993. It is an award-winning recipe. While I did not mess with the ingredients; I have modified the rubbing instructions to take full advantage of the flavors, giving the meat a more thorough saturation.
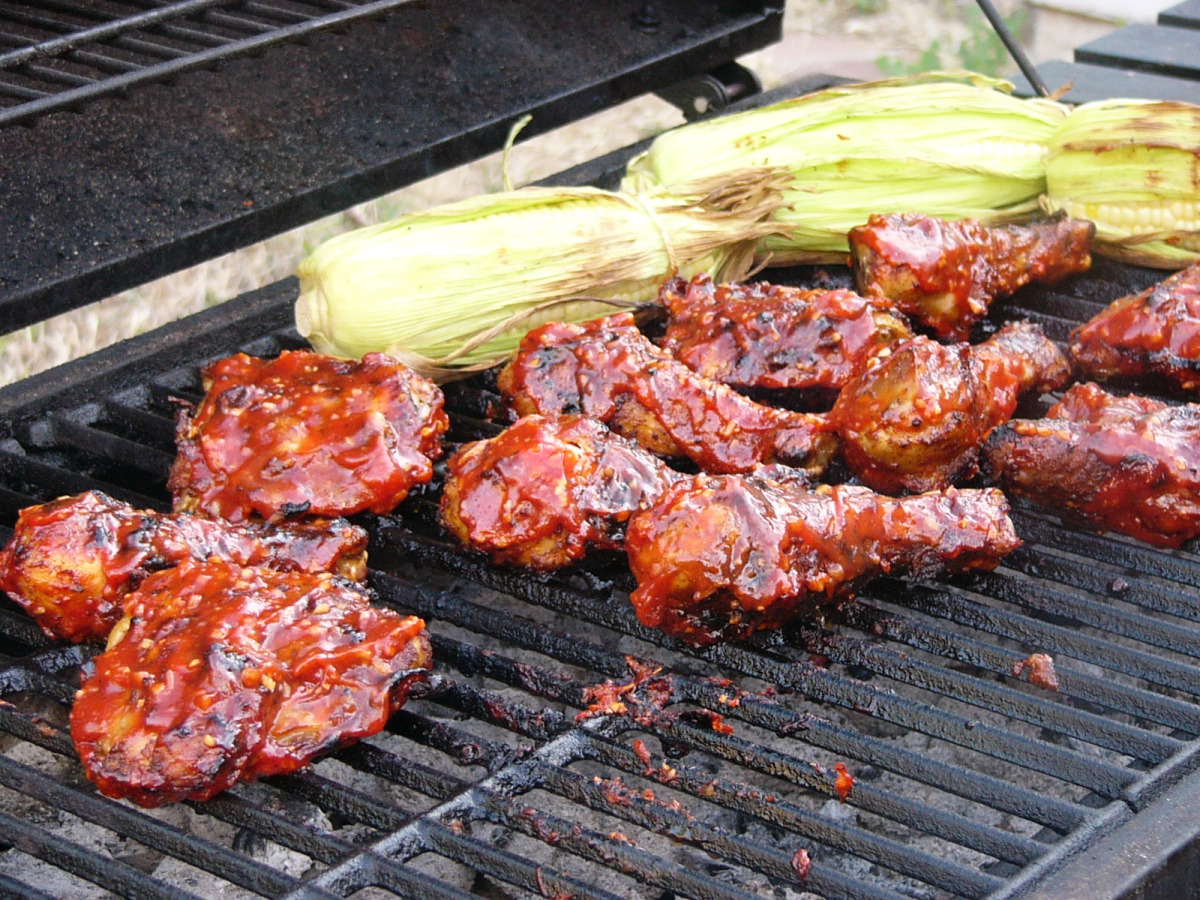
When it came time to grill the chicken, Hubby tossed the instructions right out the window. The instructions said to grill the chicken uncovered for 20 minutes, turn, baste and grill 30 minutes longer. He shook his head and I could tell his gut told him differently. I’ve always been a firm believer in following your instincts. So I let Hubby do his thing. His technique rendered a piece of chicken that was moist and rosy with deep smokey goodness right down to the bone.
Overall the spice rub did not make the chicken spicy as in “hot” – it’s spicy as in a lot of flavorful. Some of the best chicken I’ve ever tasted. Just be sure to have plenty of big napkins – it’s messy. Good and messy – just the way barbecue should be!
Spice-Rubbed Grilled Chicken with a Smokey Orange Sauce
Ingredients – Chicken
1 Package Chicken Legs (6 Legs)
1 Package Chicken Thighs (6 Thighs)
Rinse chicken well and pat dry. Set chicken aside on a wire rack to “air dry” while the rub is made.
Rub the chicken with the rub both under and over the skin. Allow the rub to really flavor the meat of the chicken.
Gently pull skin back on legs and work rub directly onto meat. Pull skin back over legs, rub skin.
Turn thighs skin-side-down. Work rub directly onto meat. Lift skin, continue to work rub onto meat, then rub into skin.
Ingredients – The Rub
2 tablespoons onion powder
4 teaspoons salt or salt substitute
1 tablespoon paprika
2 teaspoons garlic powder
1-1/2 teaspoons chili powder
1-1/2 teaspoons pepper
1/4 teaspoon ground turmeric
Pinch cayenne pepper
In a small bowl, mix spice rub ingredients; reserve 1 tablespoon spice rub for sauce.
Place the rubbed chicken back onto the rack and let rest, soaking in the rub. While the chicken is resting, prep the grill.
Once the coals are heating in the chimney, make the Smokey Orange Sauce. (Recipe follows).
Ingredients – The Smokey Orange Sauce
2 cups ketchup
3 tablespoons brown sugar
2 tablespoons dried minced onion
2 tablespoons thawed orange juice concentrate
1/2 teaspoon liquid smoke
In a bowl, combine all the ingredients for the sauce. Stir in the reserved spice rub; taste and adjust as needed.
Set sauce aside until ready to baste.
To Grill the Chicken: Grill chicken skin-side-down both covered and uncovered over medium heat in intervals of 5 minutes for a combined cooking time of about 20 minutes. This allows smoke to build up in the grill while keeping fire flare-ups under control. After chicken has been grilling about 20 minutes, turn chicken; baste with sauce. Continue to grill chicken both covered and uncovered for about 30 minutes longer, basting frequently with the sauce. Grill chicken until the juices run clear when pierced.
Turn chicken, baste underside grill for about 10 minutes more. Remove chicken from grill. Transfer chicken to serving platter, tent and let rest about 5 minutes for juices to settle.
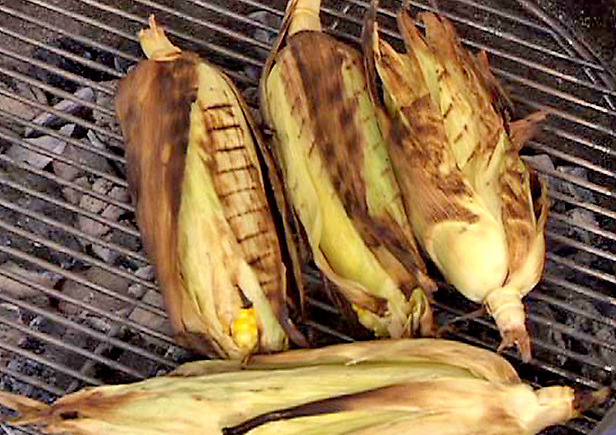
Serve and enjoy. This dish goes well with corn on the cob and wedged potatoes.
Note from Hubby: Grill times may vary depending upon grill temperature. Keep an eye on the chicken and adjust accordingly.


")


")
")

")


")