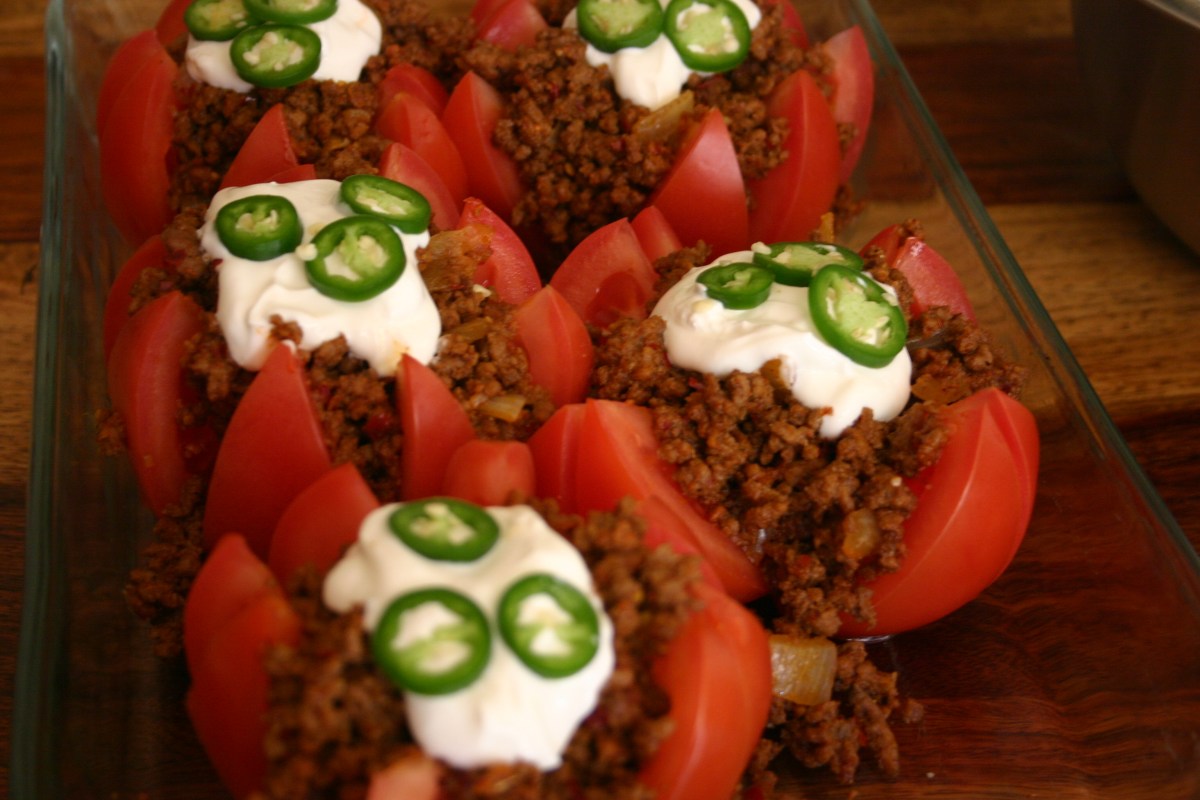
Kiddo could live on bacon. I kid you not. He seasons his popcorn with bacon-flavored salt. He loves the Bacon Chocolate Bars we make it a point to pick up at World Market. Once when we were at the State Fair, he followed a girl around, not because she was cute (which she was) but because her T-Shirt said “Follow Me to the Bacon”. Turned out she worked at the Chocolate Covered Bacon food booth. Kiddo puts bacon on or in just about everything – from pizza to milk shakes. And yes, he adores bacon at the breakfast table.
I know we should eat breakfast together every morning, but the truth of the matter is my guys simply don’t have the time. They value sleep more than food so they skip breakfast during the week. Now that I’m retired, I have the pleasure of lingering over breakfast once the men have headed off for the day. Some days it’s just a bowl of warm cereal, other mornings an omelette and still others the delicious convenience of a Sandwich Thin Fried Egg and Sausage Sandwich, an entire meal that I can hold in my hand.
Sometimes my guys work a Saturday. If work isn’t enough, Saturday’s chores and errands and all the other things we have neglected during the week need to be checked off the dreaded To Do list.
 Sundays are special. Sundays are our day to linger, to move unhurried through the day. Sundays – with time for a second cup of French Pressed coffee. Ode to Sundays – with time to slow down and savor every precious moment. To soak in the sights, the sounds, and all things beautiful and right with the world. Time to listen to birds singing and the clickety-clack of a not too distant train. Sundays are slow, with walks along tree-lined streets. No talk of work or the outside world. Sundays are our day to simply slow down and catch our breaths. Breakfast is part of what makes Sunday special.
One morning Kiddo stumbled into the kitchen and said “Let me make the bacon.” Big mistake. Not for us, but for him. Making bacon is now his official duty on Sunday mornings. I was busy with all the other things like making hash browns from fresh potatoes and snipping herbs for the scrambled eggs, so I really didn’t pay much attention to Kiddo and his skillet. The bacon was perfect, crisp and golden. Wow – I was impressed. Curious, I asked what his “secret” to perfect bacon might be. He shrugged and said it was simple. The secret is surprising. He fries the bacon in (are your ready for this?) bacon grease!


Did you ever notice how the bacon just sizzles better toward the end, when the skillet is full of bacon grease? Kiddo “primes” the skillet with bacon drippings from the jar we store in the refrigerator. Although the results are a better fried strip of bacon, his reasoning was not so much in the ease of frying. Kiddo was attempting to add more bacon flavor to the bacon. And guess what? It works.
Next time you fry up some bacon on a Sunday morning, give it a try. Okay, if you don’t save your drippings, fry up some bacon and save the drippings for next time. The bacon goodness is unbelievably intense.
Perfect Crisp Bacon
2 Tablespoons Bacon Drippings
8 Slices Hickory Smoked Bacon
Heat a large skillet or griddle to medium heat. Melt bacon drippings into skillet. Once the drippings begin to sizzle, add strips of bacon.
Once the bacon begins to crisp, turn as needed to cook and crisp evenly.
Remove bacon from the pan and place on a few paper towels to drain.
The bacon drippings can be poured into a jar and kept in the refrigerator for future use.


 Like the islands themselves, this wonderful pork dish lingers a bit in the oven, giving you plenty of time to sit back, relax and listen to the sounds of steel drum music. Now would be the perfect time to whip up a batch of tropical drinks, close your eyes and imagine far away places. Can you hear the waves caressing the sandy beaches? Their white ripples and airy bubbles appear like lace upon the shore. Skies so blue in contrast to the billowing clouds that do not seem to care where the gently breeze may take them. Come now, let us float away . . .
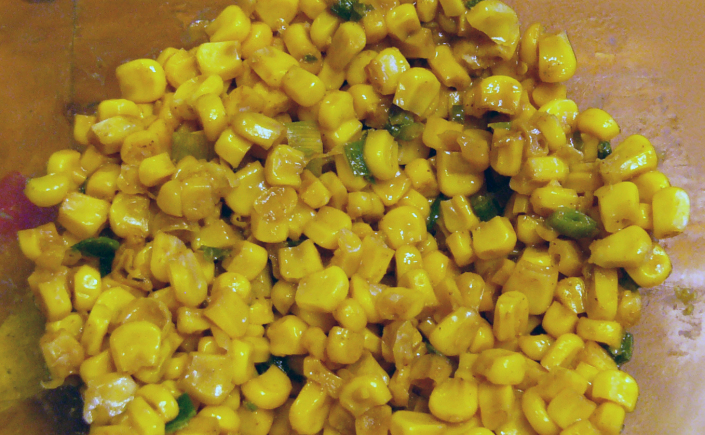
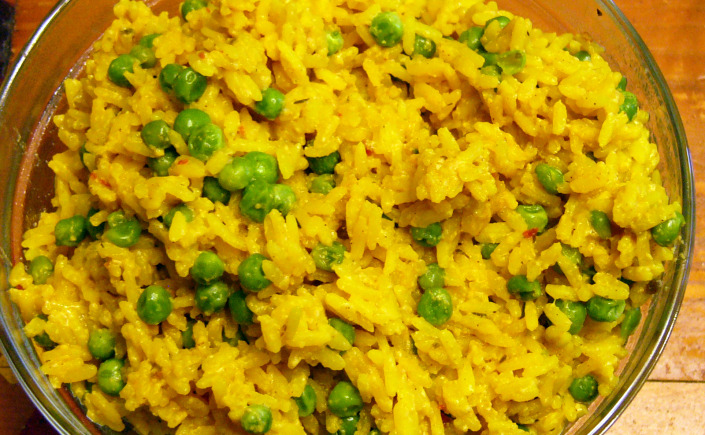
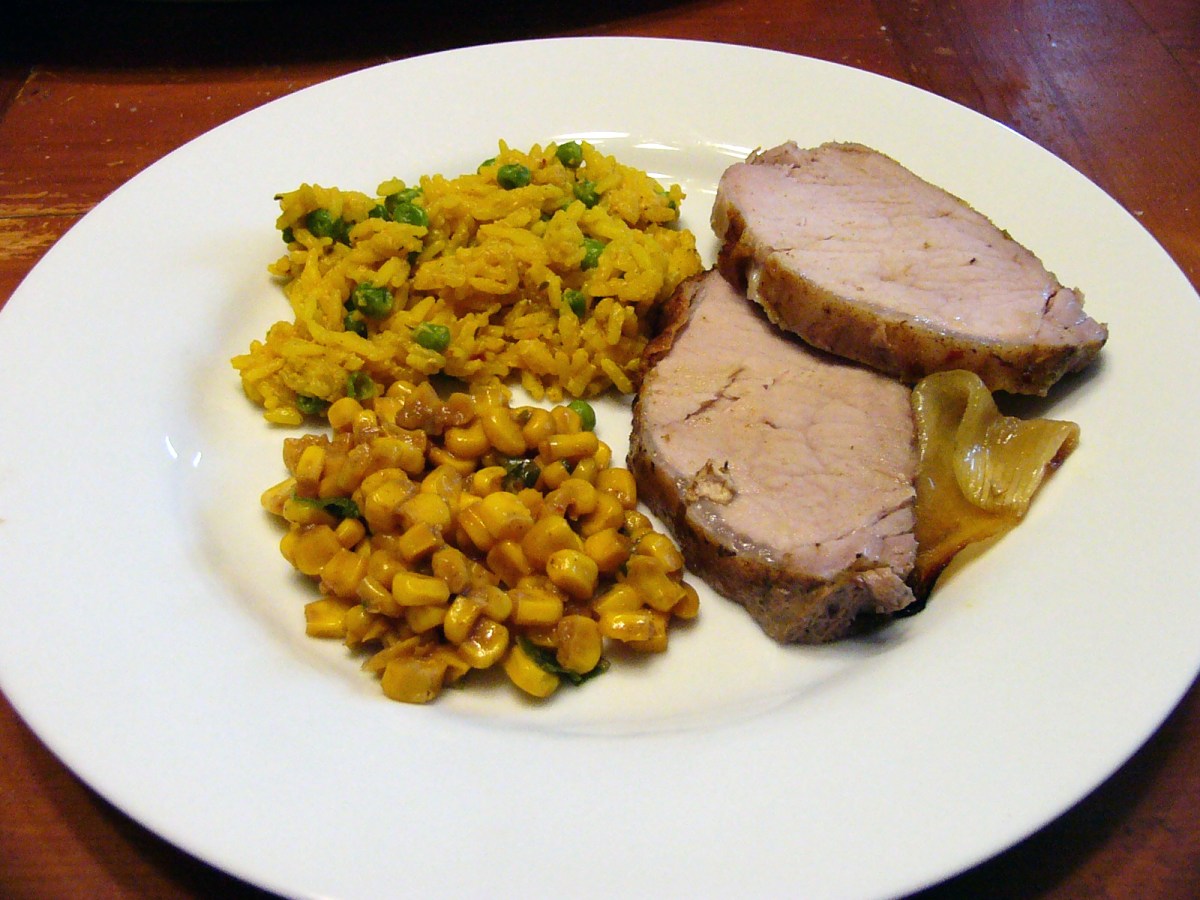
 The beauty of food is that it can transport you anywhere. Yearning for a stroll through the streets of Paris? For me, sweet crepes or a creamy Chocolate Mousse and a glass of champagne will do the trick. Food can recapture a memory or fulfill a desire. Sometimes I yearn to dig my feet into the beautiful pink sands of Bermuda, lay back and let the warm tropical waves wash over me. Now the chances of jetting off to Bermuda on a whim are slim to none. But listening to steel drum music, sipping rum and sampling Island foods are not out of the question. It’s all a state of mind. So if you are looking for an escape to the Tropics, let Island Rice with Peas be the first stamp in your imagination’s passport. Now where did I put that bottle of rum?